Last year, I was given a Dolce Gusto Genio2 coffee machine for repair.
The owner reported bad water flow, and said that they had attempted to clear limescale, etc using citric acid with no luck, and suspected that the pump was dying.
A quick search showed that there’s an unclogging pin tucked away between the water tank and the machine body. Using that I simply unclogged the nozzle and it worked fine. There’s a good lesson there about trying the simple things before jumping to more complicated conclusions.
Once fixed the owner gave it to me, as they’d already got a new one.
 |
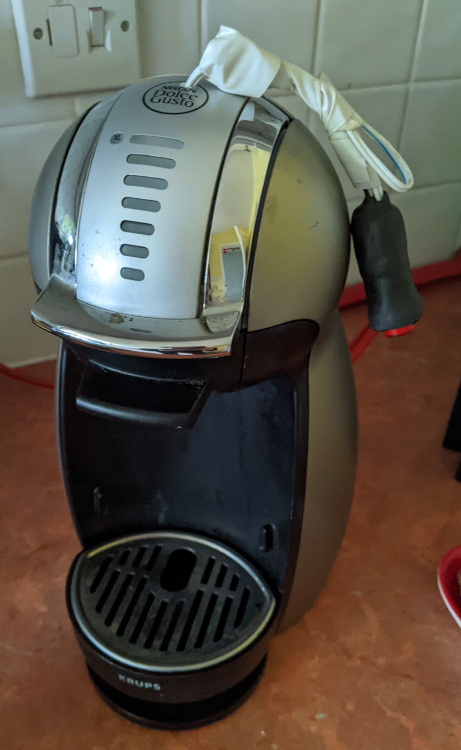
| "Before" |
Given the wasteful nature of the pod-based machines, and the reputation of the company behind them I took great pleasure in my free coffee machine which I then got some reusable pods for - so despite using one of their machines, I have managed to avoid becoming part of their ecosystem.
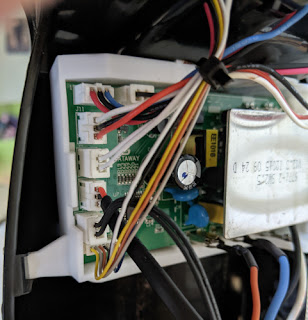 |
| The main PCB - the bottom connector leads to... |
Recently though the machine broke again a couple of times when turning on the lights would blink several times and then go out - shortly after it would just not turn on at all.
I pulled the machine part. iFixit have a good guide to getting the machine apart, so I won’t rehash that here.
After some testing with the multimeter I narrowed the problem down to to the PCB with the power button and the light on.
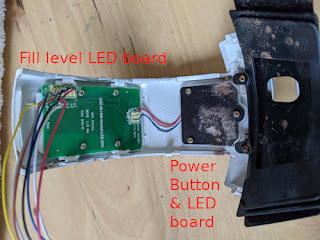 |
| ... the LED fill level board, which in turn links to the power button board. |
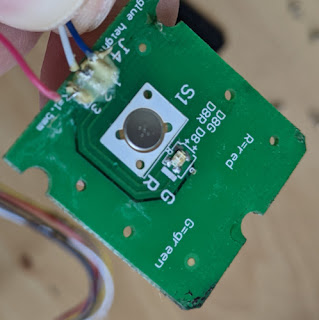
It appears that of the three pins, pin 3 is the power, with pins 1 and two being the return line for the red and green LED respectively.
When picking around with the multimeter some more I accidentally shorted pins 1 and 3 and the machine started up, so it seems that the button shares wires with the lights.
With this information in hand further testing indicated that it was the button itself that was faulty.
Unfortunately, there is not an awful lot of space in case for a replacement button - only approximately 2mm. I did not have a button that would fit, but seeing as I cared more about getting coffee then the aesthetics of the machine, I did the next best thing and drilled the hole through the case running wires to the relevant pins.
Then I attached an external button. One that has an integrated LED back light. It is any a single colour though, so I wired it in place of the green LED, so that the button being lit is indicative of the machines ready state.
Then I put the machine back together, and tested to confirm it works.
It's not the most stylish of alterations, but I had no intention of getting another machine, so it was either this or start getting used to instant coffee again.
 |
| After |
No comments:
Post a Comment